I LOVE framing cookie images to dress them up a bit. It just makes the center image pop. I wanted to show you step by step how to make an over the top Baroque style frame that requires no patterns or stencils, just building up details to create something that looks intricate but is fairly simple to do once you break it down. So dress up those cookies! Edible frames are great for wedding/special occasion cookies and a fab fit for portrait cookies.
Here's Kermie gone formal in a gilded frame for some wedding favors with a sense of humor:
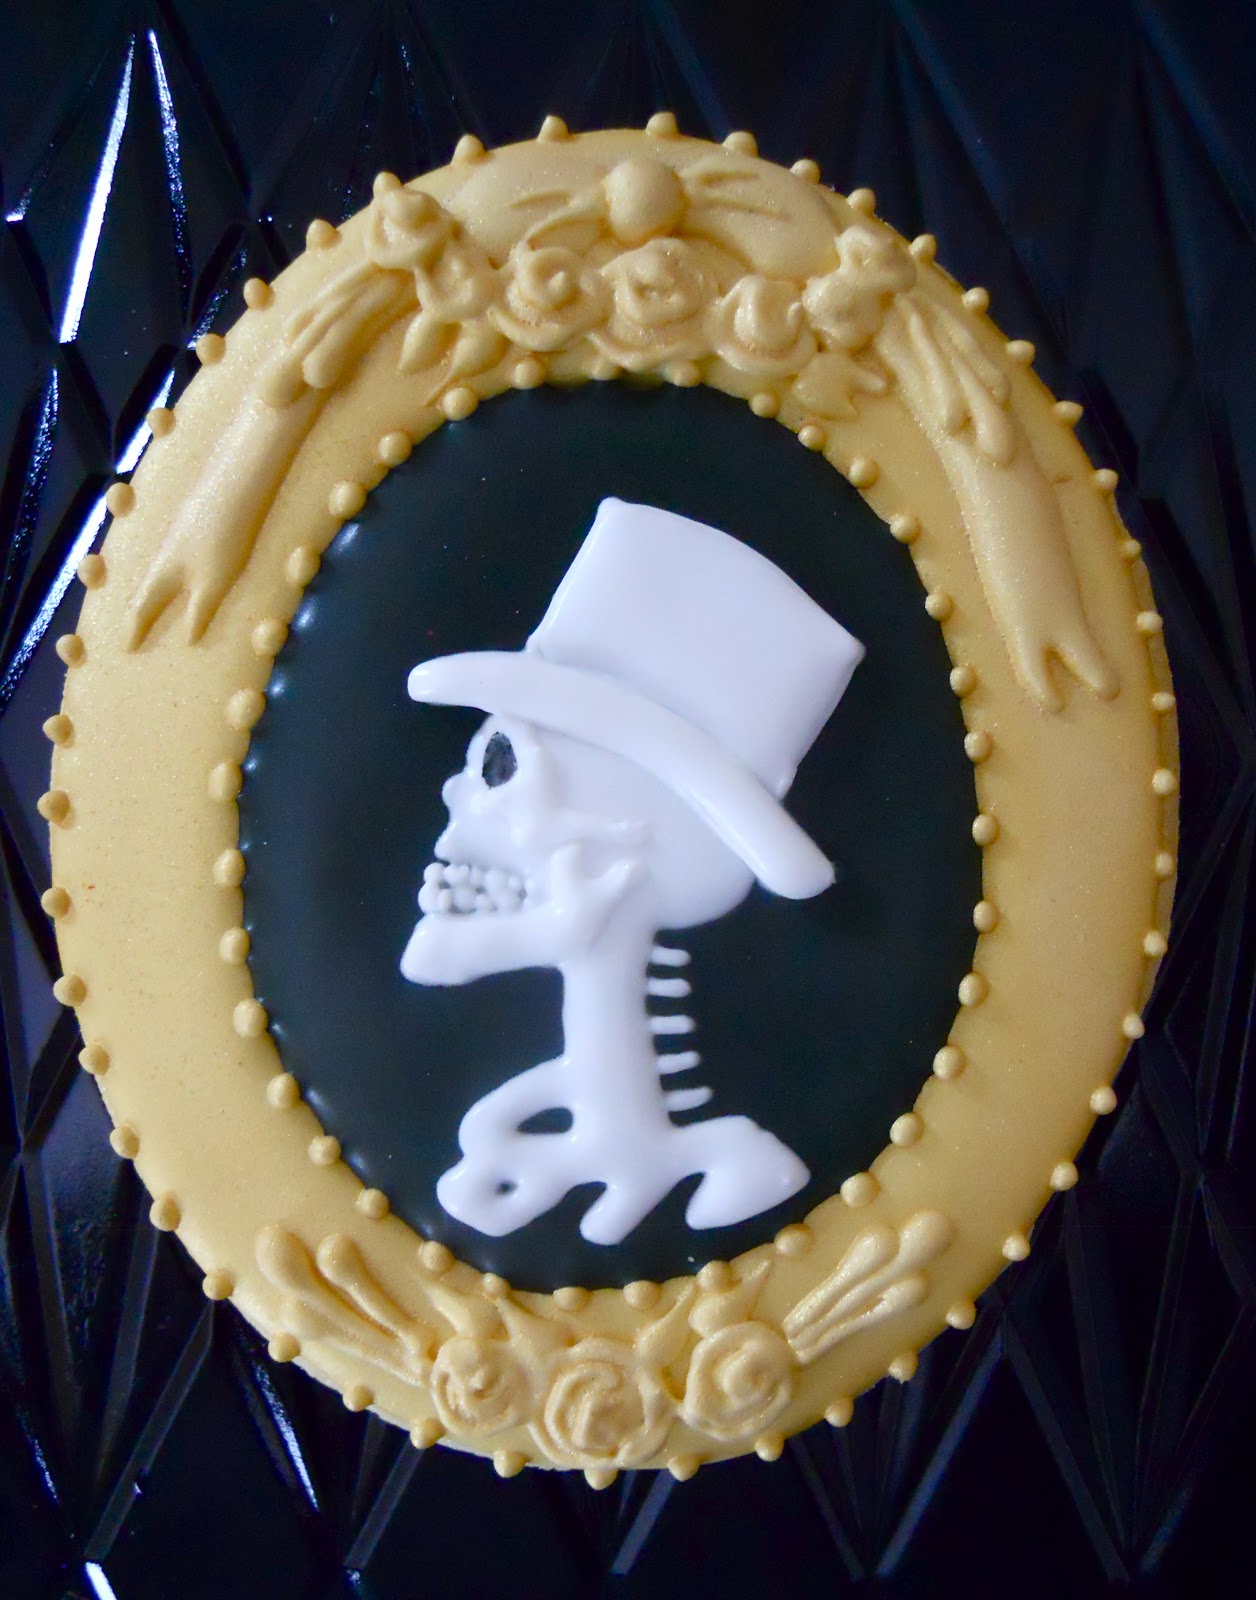
George Costanza's portrait "The Art Of Seduction"
On to the tutorial.
STEP 1 Outline the outer edge of your cookie and pipe an interior oval set slightly lower than perfectly center and fill. Allow to dry. (I use a heat gun to speed up the setting process.)
STEP 2 Find bottom center and mark with a flower blob.
At top center make two bow loop blobs. (Sorry, don't mean to get all technical with my cookie jargon.) Allow to dry (hit with the heat gun and you're good to go.) My final instructions between all of these steps will be "allow to dry" so I'll let you add that in your head after each instruction instead of retyping it.
STEP 3 Freehand ribbon tails, bow knot, and smaller flower blobs on either side of bottom center flower blob.
STEP 4 More flower blobs on inside connecting points where the bow loops meet ribbon tails.
Detail bottom flower blobs using a (more jargon here) squiggly spiral outline.
STEP 5 Fill in with more flower blobs between top center and outer blobs.
On top of each ribbon tail, draw a line working from south to north and applying more pressure at starting point and easing up as you finish. NOTE: I would change how it is shown here to start lower on the ribbon tail and NOT pull it all the way to the ribbon loops so the final flower blob that caps off these line is not sitting so high on top of these lines, but lower on the actual ribbon tail itself. It will make sense when you do it yourself. Trust me.
Using the same technique as the above, make short leaf strokes on either side of bottom center flower.
STEP 6 Add shorter lines using same technique on either side of the center line on ribbon tail.
Add short leaf strokes between top outer flower blobs and a second row of leaves on bottom flowers.
STEP 7 Add final flower blobs to cap off three-line details on top of ribbon tails.
Add second leaf to top flower blobs.
STEP 8 Add bow loop detail using two lines to make ">" and "<" working from the knot outward.
More squiggle spiral outline work on all of the top row flower blobs.
STEP 9 Pipe a bead border on outer and interior edges to polish and finish off the look.
STEP 10 Spray cookie with Wilton Color Mist in gold for an extra oomph.
Ta-da! There you have it. A Baroque frame in 10 easy steps. After it is sprayed you can fill in the center with your image. I hope you'll try it.