Welcome to Angela Rudy Cookies, formerly known as Oh, Sugar! Events. We specialize in hand-decorated sugar cookies to make your event feel truly special. So put your feet up and stay awhile as you browse our site for inspiration from our latest projects.

In the market for a couple dozen show stopping favors? Please contact Angela Rudy Cookies for a custom quote. Enjoy!
Email: angelarudycookies@gmail.com
Showing posts with label mushrooms. Show all posts

Saturday, April 23, 2011

Spring Treats


Happy Easter!  I had two orders for cupcakes and cookies to celebrate the Easter Bunny's arrival this weekend.  That's a lot of jelly beans, folks!  I baked up these fab and tasty carrot spice Easter basket cupcakes with cream cheese grass frosting putting a slight tweak on a Bakerella's adorable design.  Love how these sweet things turned out.


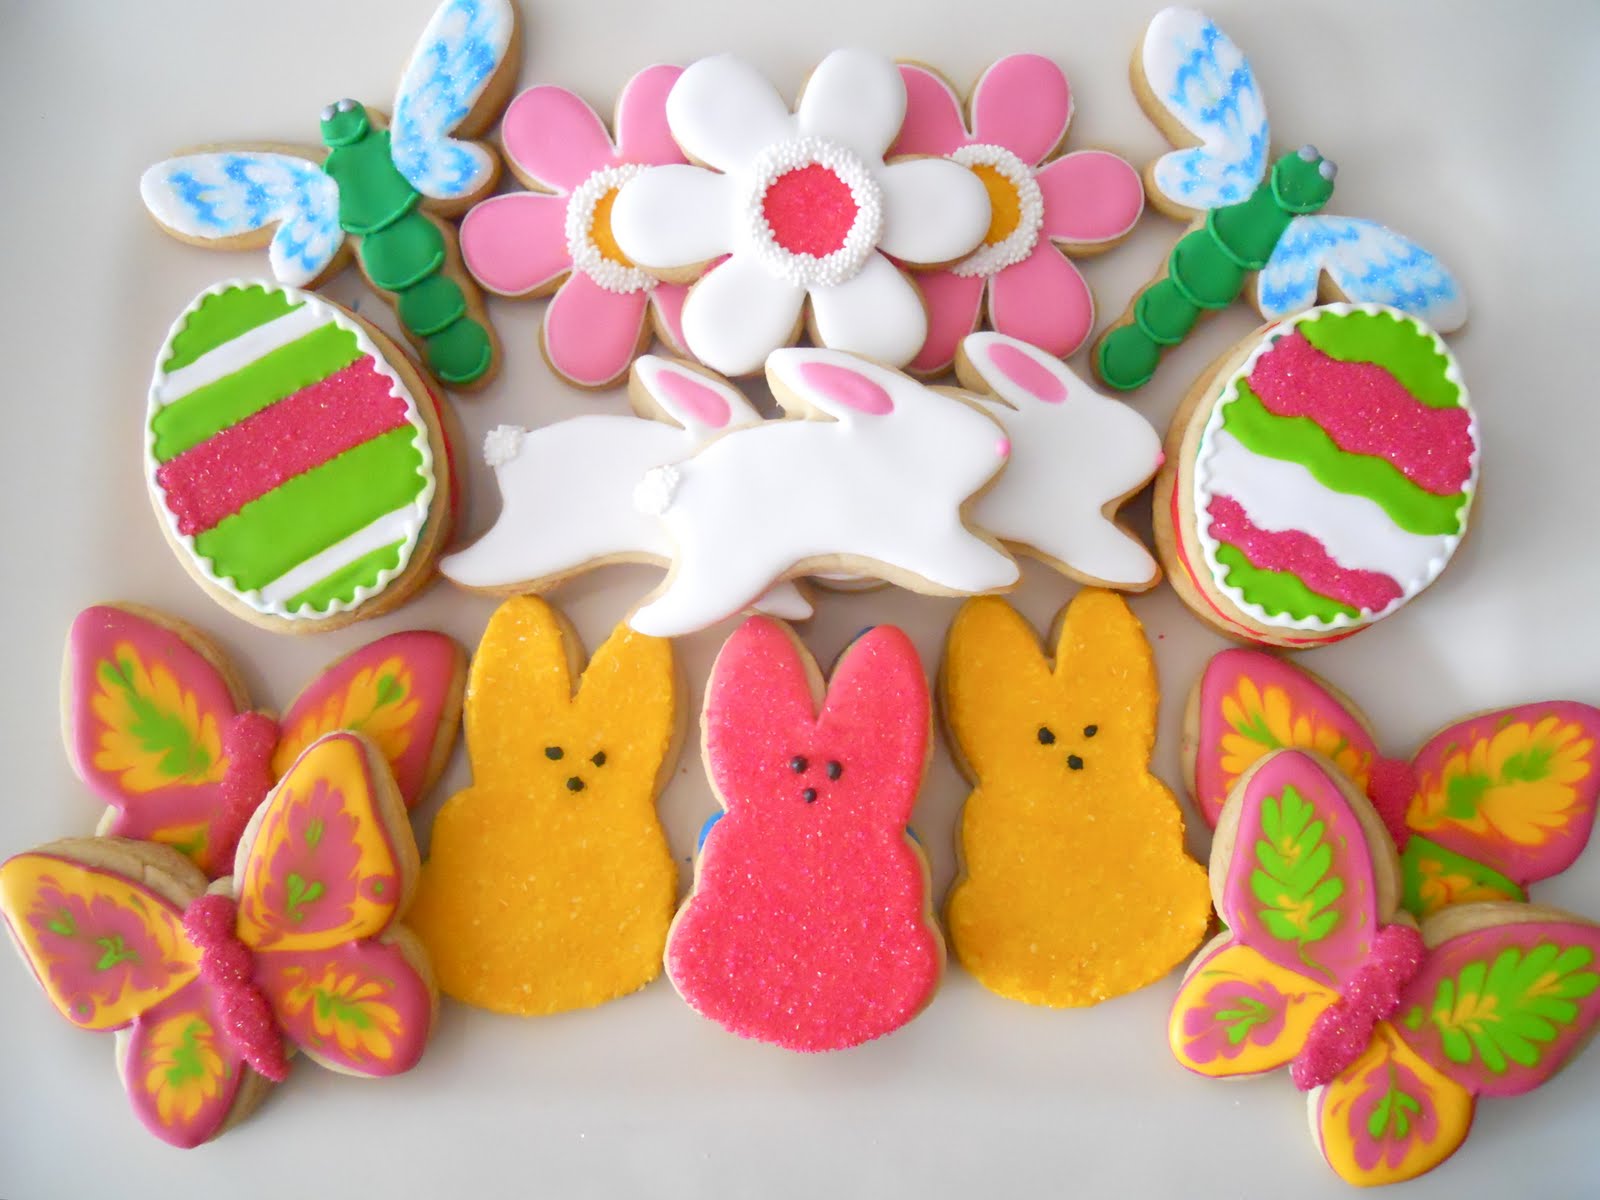
And then there were the cookies.  Two different collections:  one bright and cheery nature inspired and the other done in pretty pinks, greens and yellows. Both turned out happy and spring-y with lots of fun details to look at.  Check them out for yourself - Enjoy!

Bright and Cheery Collection.


In love with the cotton tail.


 Carrot top detail.

This one goes out to my Peeps!


Ladybug detail.


Pretty Easter egg detail.

 Soft Pink, Green and Yellow Collection.


 Silvery bug eyes.


 Marbled Easter eggs.


Happy Easter!

Saturday, January 15, 2011

Mushroom Cake Pop Tutorial

How cute are these mushrooms?! These tasty toadstools are actually cake pops, a candy-dipped cakey confection perfected by the one and only Bakerella. I've been surfing her site forever, just gaga over what she manages to create and finally screwed up the courage to give it a whirl myself. I was thrilled with how easy they were to do and how great they turned out!


Bake up one boxed white cake and crumble finely in your mixer. Add to that about 3/4 can of white frosting and mix together to form a moist dough.

Roll dough into about 2 inch balls.

Squeeze the bottom half of ball in your fist to create the stem and form the mushroom cap with the top portion of ball using your fingers to pinch and sculpt cap to desired shape.


I made three different types of mushrooms for a wider variety and more visual interest - pointy topped, rounded topped and flat topped - and pressed them on a cookie sheet lined with waxed paper. Then put them in the fridge for about 15 minutes to cool and firm up.


Heat white candy melts in the microwave in 30 second intervals until you can stir them smooth. Holding mushroom by the cap, spread coating on stem and smooth/remove excess with your finger. Work quickly as the candy will start to set up. Dip one end of a lollipop stick into white candy and insert into bottom of stem. Insert mushroom pops into floral foam to dry and put back in the refrigerator to harden. (TIP: wrap floral foam in Seran Wrap to keep clean for future use.)

When all mushroom stems are dipped and chilled, heat red candy melts the same as the whites. Holding on to the lollipop stick, roll the mushroom cap on edge in the red candy so it touches and just covers where the white stem meets the cap. Then dip cap straight down and wiggle out to get a smooth covered surface.
Press in large white nonpareils to mushroom cap while still wet to finish off the look.

Place mushrooms back in styrofoam block to dry. Voila! Mushroom cake pops! These red capped beauties are too cute for words.

Cake pop detail.

I stumbled upon this fab hollow log-shaped I-don't-know-what at the thrift store for only $2 and just knew I'd find a use for it. Filled with floral foam and covered with moss, it makes the perfect serving piece for these fanciful fungi. Just the thing for the garden themed baby shower they were made for.